This site is from a past semester! The current version will be here when the new semester starts.
CS2113/T 2020 Aug-Dec
  • Full Timeline
  • Week 1 [Mon, Aug 10th]
  • Week 2 [Fri, Aug 14th]
  • Week 3 [Fri, Aug 21st]
  • Week 4 [Fri, Aug 28th]
  • Week 5 [Fri, Sep 4th]
  • Week 6 [Fri, Sep 11th]
  • Week 7 [Fri, Sep 18th]
  • Week 8 [Fri, Oct 2nd]
  • Week 9 [Fri, Oct 9th]
  • Week 10 [Fri, Oct 16th]
  • Week 11 [Fri, Oct 23rd]
  • Week 12 [Fri, Oct 30th]
  • Week 13 [Fri, Nov 6th]
  • Textbook
  • Admin Info
  • Report Bugs
  • Forum
  • Gitter (Chat)
  • Instructors
  • Announcements
  • Files
  • Tutorial Schedule
  • repl.it link
  • repl.it link (duplicated)
  • Java Coding Standard
  • Git Conventions
  • Forum Activities Dashboard
  • Participation Dashboard

  •  Individual Project (iP):
  • Individual Project Info
  • iP Upstream Repo
  • iP Code Dashboard
  • iP Progress Dashboard

  •  Team Project (tP):
  • Reference AB3
  • Team Project Info
  • Team List
  • tP Code Dashboard
  • tP Progress Dashboard
  • Week 7 [Fri, Sep 18th] - Topics

    • [W7.1] Java: Varargs : OPTIONAL
    • [W7.1a] C++ to Java → Miscellaneous Topics → Varargs : OPTIONAL
    • [W7.2] Java: streams : OPTIONAL
    • [W7.2a] C++ to Java → Miscellaneous Topics → Streams: Basic : OPTIONAL
    • [W7.3] Java: JavaFX : OPTIONAL
    • [W7.3a] C++ to Java → Miscellaneous Topics → JavaFX : OPTIONAL

    • [W7.4] Documentation Tools

       Javadoc

    • [W7.4a] Implementation → Documentation → Tools → JavaDoc → What

    • [W7.4b] Implementation → Documentation → Tools → JavaDoc → How

    • [W7.5] Code Quality: Code Comments
    • [W7.5a] Implementation → Code Quality → Comments → Introduction

    • [W7.5b] Implementation → Code Quality → Comments → Basic → Do not repeat the obvious

    • [W7.5c] Implementation → Code Quality → Comments → Basic → Write to the reader

    • [W7.5d] Implementation → Code Quality → Comments → Intermediate → Explain WHAT and WHY, not HOW

    • [W7.6] Continuous Integration/Deployment
    • [W7.6a] Implementation → Integration → Introduction → What

    • [W7.6b] Implementation → Integration → Build Automation → What

    • [W7.6c] Implementation → Integration → Build Automation → Continuous integration and continuous deployment

    • [W7.7] RCS: Merging PRs
    • [W7.7a] Tools → Git and GitHub → Merging PRs
    • [W7.8] RCS: Workflows
    • [W7.8a] Project Management → Revision Control → Forking flow

    • [W7.8b] Tools → Git and GitHub → Forking workflow

    • [W7.8c] Project Management → Revision Control → DRCS vs CRCS

    • [W7.8d] Project Management → Revision Control → Feature branch flow : OPTIONAL

    • [W7.8e] Project Management → Revision Control → Centralized flow : OPTIONAL


    Guidance for the item(s) below:

    While the next few topics are optional, we recommend that you have a quick look anyway, just so that you know their existence at least.

    [W7.1] Java: Varargs : OPTIONAL

    W7.1a : OPTIONAL

    C++ to Java → Miscellaneous Topics → Varargs

    Can use Java varargs feature

    Variable Arguments (Varargs) is a syntactic sugar type feature that allows writing a method that can take a variable number of arguments.

    The search method below can be called as search(), search("book"), search("book", "paper"), etc.

    public static void search(String ... keywords){
    // method body
    }

    Resources:

    [W7.2] Java: streams : OPTIONAL

    W7.2a : OPTIONAL

    C++ to Java → Miscellaneous Topics → Streams: Basic

    Can use Java8 streams

    Java 8 introduced a number of new features (e.g. Lambdas, Streams) that are not trivial to learn but also extremely useful to know.

    Here is an overview of new Java 8 features (written by Benjamin Winterberg).

    Tutorials:

    A video tutorial by well-known Java coach Venkat Subramaniam

    Guidance for the item(s) below:

    JavaFX is not required for this module as we strongly discourage you from creating a GUI app. If you are still interest to learn JavaFX, given below is a link to some tutorials.

    [W7.3] Java: JavaFX : OPTIONAL

    W7.3a : OPTIONAL

    C++ to Java → Miscellaneous Topics → JavaFX

    Can use JavaFX to build a simple GUI

    JavaFX is a technology for building Java-based GUIs. Previously it was a part Java itself, but has become a third-party dependency since then. It is now being maintained by OpenJDK.

    Refer to the JavaFX tutorial @SE-EDU/guides to learn how to get started with JavaFX.

    [W7.4] Documentation Tools


    Javadoc

    Guidance for the item(s) below:

    You'll need to add JavaDoc comments to the iP code this week. Let's learn how to do that.

    W7.4a

    Implementation → Documentation → Tools → JavaDoc → What

    Can explain JavaDoc

    JavaDoc is a tool for generating API documentation in HTML format from comments in the source code. In addition, modern IDEs use JavaDoc comments to generate explanatory tooltips.

    An example method header comment in JavaDoc format (adapted from Oracle's Java documentation)

    /**
    * Returns an Image object that can then be painted on the screen.
    * The url argument must specify an absolute {@link URL}. The name
    * argument is a specifier that is relative to the url argument.
    * <p>
    * This method always returns immediately, whether or not the
    * image exists. When this applet attempts to draw the image on
    * the screen, the data will be loaded. The graphics primitives
    * that draw the image will incrementally paint on the screen.
    *
    * @param url an absolute URL giving the base location of the image
    * @param name the location of the image, relative to the url argument
    * @return the image at the specified URL
    * @see Image
    */
    public Image getImage(URL url, String name) {
    try {
    return getImage(new URL(url, name));
    } catch (MalformedURLException e) {
    return null;
    }
    }

    Generated HTML documentation:

    Tooltip generated by Intellij IDE:

    W7.4b

    Implementation → Documentation → Tools → JavaDoc → How

    Can write JavaDoc comments

    In the absence of more extensive guidelines (e.g., given in a coding standard adopted by your project), you can follow the two examples below in your code.

    A minimal JavaDoc comment example for methods:

    /**
    * Returns lateral location of the specified position.
    * If the position is unset, NaN is returned.
    *
    * @param x X coordinate of position.
    * @param y Y coordinate of position.
    * @param zone Zone of position.
    * @return Lateral location.
    * @throws IllegalArgumentException If zone is <= 0.
    */
    public double computeLocation(double x, double y, int zone)
    throws IllegalArgumentException {
    // ...
    }

    A minimal JavaDoc comment example for classes:

    package ...

    import ...

    /**
    * Represents a location in a 2D space. A <code>Point</code> object corresponds to
    * a coordinate represented by two integers e.g., <code>3,6</code>
    */
    public class Point {
    // ...
    }

    Guidance for the item(s) below:

    This is the final installment of the code quality topics. As you are learning about JavaDoc comments this week, you can also learn these guidelines to write better code comments.

    [W7.5] Code Quality: Code Comments

    W7.5a

    Implementation → Code Quality → Comments → Introduction

    Can explain the need for commenting minimally but sufficiently

    Good code is its own best documentation. As you’re about to add a comment, ask yourself, ‘How can I improve the code so that this comment isn’t needed?’ Improve the code and then document it to make it even clearer. -- Steve McConnell, Author of Clean Code

    Some think commenting heavily increases the 'code quality'. That is not so. Avoid writing comments to explain bad code. Improve the code to make it self-explanatory.

    W7.5b

    Implementation → Code Quality → Comments → Basic → Do not repeat the obvious

    Can improve code quality using technique: do not repeat the obvious

    If the code is self-explanatory, refrain from repeating the description in a comment just for the sake of 'good documentation'.

    Bad

    //increment x
    x++;

    //trim the input
    trimInput();

    Bad

    # increment x
    x = x + 1

    # trim the input
    trim_input()

    W7.5c

    Implementation → Code Quality → Comments → Basic → Write to the reader

    Can improve code quality using technique: write to the reader

    Do not write comments as if they are private notes to yourself. Instead, write them well enough to be understood by another programmer. One type of comment that is almost always useful is the header comment that you write for a class or an operation to explain its purpose.

    Examples:

    Bad Reason: this comment will only make sense to the person who wrote it

    // a quick trim function used to fix bug I detected overnight
    void trimInput() {
    ....
    }

    Good

    /** Trims the input of leading and trailing spaces */
    void trimInput() {
    ....
    }

    Bad Reason: this comment will only make sense to the person who wrote it

    def trim_input():
    """a quick trim function used to fix bug I detected overnight"""
    ...

    Good

    def trim_input():
    """Trim the input of leading and trailing spaces"""
    ...

    W7.5d

    Implementation → Code Quality → Comments → Intermediate → Explain WHAT and WHY, not HOW

    Can improve code quality using technique: explain what and why, not how

    Comments should explain the what and why aspects of the code, rather than the how aspect.

    What: The specification of what the code is supposed to do. The reader can compare such comments to the implementation to verify if the implementation is correct.

    Example: This method is possibly buggy because the implementation does not seem to match the comment. In this case, the comment could help the reader to detect the bug.

    /** Removes all spaces from the {@code input} */
    void compact(String input) {
    input.trim();
    }

    Why: The rationale for the current implementation.

    Example: Without this comment, the reader will not know the reason for calling this method.

    // Remove spaces to comply with IE23.5 formatting rules
    compact(input);

    How: The explanation for how the code works. This should already be apparent from the code, if the code is self-explanatory. Adding comments to explain the same thing is redundant.

    Example:

    Bad Reason: Comment explains how the code works.

    // return true if both left end and right end are correct or the size has not incremented
    return (left && right) || (input.size() == size);

    Good Reason: Code refactored to be self-explanatory. Comment no longer needed.

    boolean isSameSize = (input.size() == size);
    return (isLeftEndCorrect && isRightEndCorrect) || isSameSize;

    Guidance for the item(s) below:

    Modern software projects, and your tP, make heavy use of build/CI/CD tools The topics below give you an overview of those tools, to prepare you to start using them yourself.

    [W7.6] Continuous Integration/Deployment

    W7.6a

    Implementation → Integration → Introduction → What

    Can explain integration

    Combining parts of a software product to form a whole is called integration. It is also one of the most troublesome tasks and it rarely goes smoothly.

    W7.6b

    Implementation → Integration → Build Automation → What

    Can explain build automation tools

    Build automation tools automate the steps of the build process, usually by means of build scripts.

    In a non-trivial project, building a product from its source code can be a complex multi-step process. For example, it can include steps such as: pull code from the revision control system, compile, link, run automated tests, automatically update release documents (e.g. build number), package into a distributable, push to repo, deploy to a server, delete temporary files created during building/testing, email developers of the new build, and so on. Furthermore, this build process can be done ‘on demand’, it can be scheduled (e.g. every day at midnight) or it can be triggered by various events (e.g. triggered by a code push to the revision control system).

    Some of these build steps such as compiling, linking and packaging, are already automated in most modern IDEs. For example, several steps happen automatically when the ‘build’ button of the IDE is clicked. Some IDEs even allow customization of this build process to some extent.

    However, most big projects use specialized build tools to automate complex build processes.

    Some popular build tools relevant to Java developers: Gradle, Maven, Apache Ant, GNU Make

    Some other build tools: Grunt (JavaScript), Rake (Ruby)

    Some build tools also serve as dependency management tools. Modern software projects often depend on third party libraries that evolve constantly. That means developers need to download the correct version of the required libraries and update them regularly. Therefore, dependency management is an important part of build automation. Dependency management tools can automate that aspect of a project.

    Maven and Gradle, in addition to managing the build process, can play the role of dependency management tools too.

    Gradle is used for,

    • a. better revision control
    • b. build automation
    • c. UML diagramming
    • d. project collaboration

    (b)

    W7.6c

    Implementation → Integration → Build Automation → Continuous integration and continuous deployment

    Can explain continuous integration and continuous deployment

    An extreme application of build automation is called continuous integration (CI) in which integration, building, and testing happens automatically after each code change.

    A natural extension of CI is Continuous Deployment (CD) where the changes are not only integrated continuously, but also deployed to end-users at the same time.

    Some examples of CI/CD tools: Travis, Jenkins, Appveyor, CircleCI, GitHub Actions

    Guidance for the item(s) below:

    Let's learn how to merge a PR on GitHub; you need to do that in the tP later, and you'll be practicing PR merging in the iP this week.

    [W7.7] RCS: Merging PRs

    W7.7a

    Tools → Git and GitHub → Merging PRs

    Can review and merge PRs on GitHub

    Let's look at the steps involved in merging a PR, assuming the PR has been reviewed, refined, and approved for merging already.

    Preparation: If you would like to try merging a PR yourself, you can create a dummy PR in the following manner.

    1. Fork any repo (e.g., samplerepo-pr-practice).
    2. Clone in to your computer.
    3. Create a new branch e.g., (feature1) and add some commits to it.
    4. Push the new branch to the fork.
    5. Create a PR from that branch to the master branch in your fork. Yes, it is possible to create a PR within the same repo.

    1. Locate the PR to be merged in your repo's GitHub page.

    2. Click on the Conversation tab and scroll to the bottom. You'll see a panel containing the PR status summary.

    3. If the PR is not merge-able in the current state, the Merge pull request will not be green. Here are the possible reasons and remedies:

    • Problem: The PR code is out-of-date, indicated by the message This branch is out-of-date with the base branch. That means the repo's master branch has been updated since the PR code was last updated.
      • If the PR author has allowed you to update the PR and you have sufficient permissions, GitHub will allow you to update the PR simply by clicking the Update branch on the right side of the 'out-of-date' error message. If that option is not available, post a message in the PR requesting the PR author to update the PR.
    • Problem: There are merge conflicts, indicated by the message This branch has conflicts that must be resolved. That means the repo's master branch has been updated since the PR code was last updated, in a way that the PR code conflicts with the current master branch. Those conflicts must be resolved before the PR can be merged.
      • If the conflicts are simple, GitHub might allow you to resolve them using the Web interface.
      • If that option is not available, post a message in the PR requesting the PR author to update the PR.

    Tools → Git and GitHub →

    Dealing with merge conflicts

    Merge conflicts happen when you try to combine two incompatible versions (e.g., merging a branch to another but each branch changed the same part of the code in a different way).

    Here are the steps to simulate a merge conflict and use it to learn how to resolve merge conflicts.

    0. Create an empty repo or clone an existing repo, to be used for this activity.

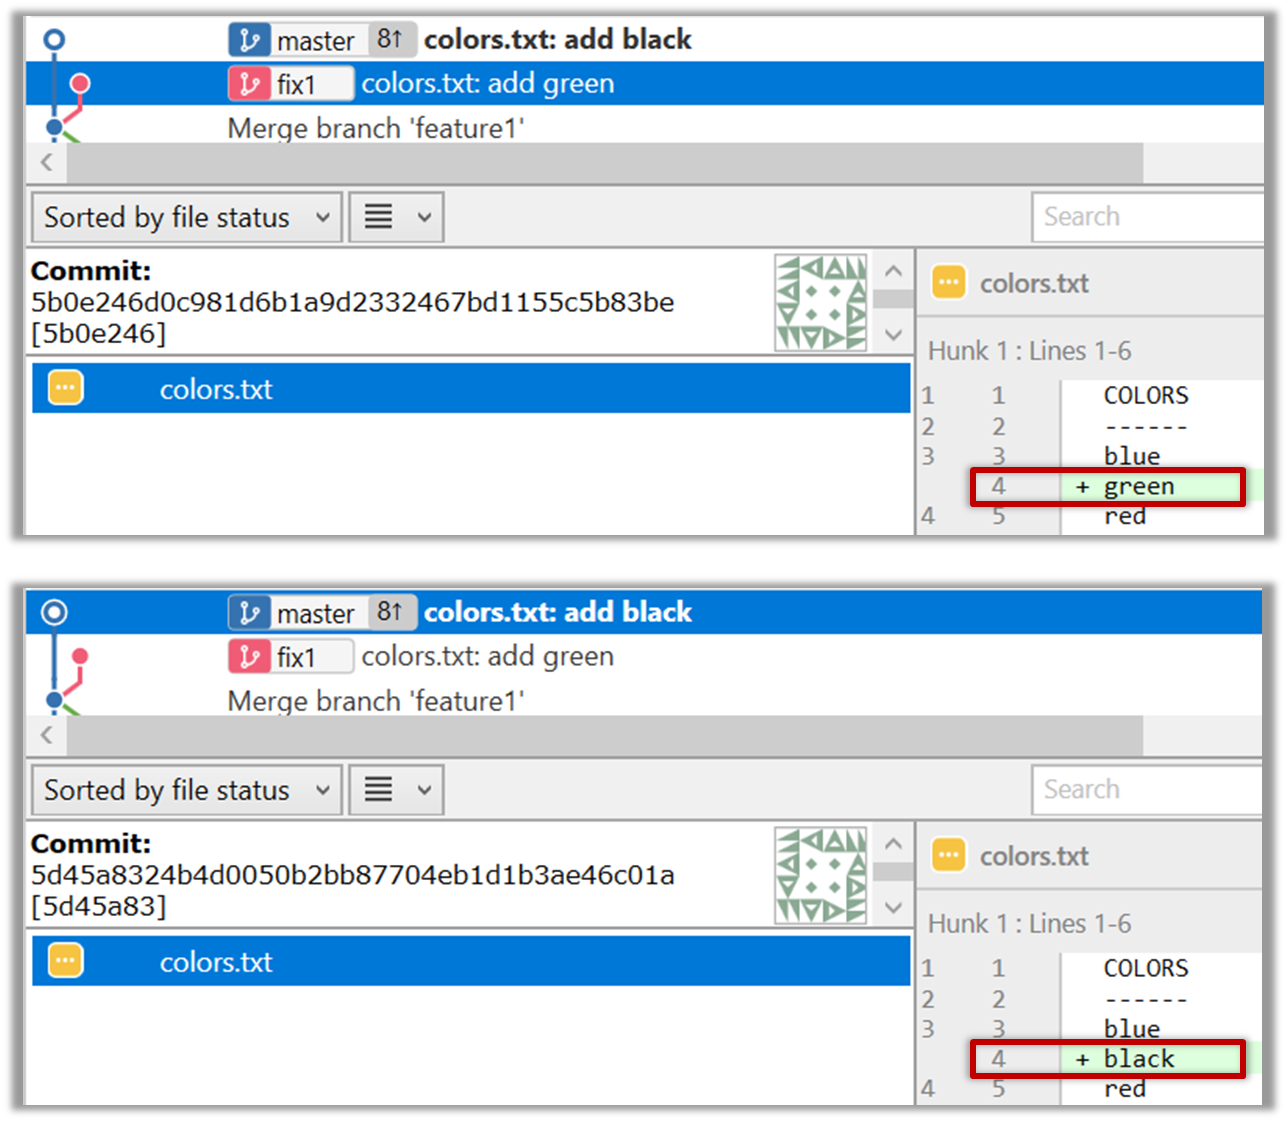
    1. Start a branch named fix1 in the repo. Create a commit that adds a line with some text to one of the files.

    2. Switch back to master branch. Create a commit with a conflicting change i.e. it adds a line with some different text in the exact location the previous line was added.

    3. Try to merge the fix1 branch onto the master branch. Git will pause mid-way during the merge and report a merge conflict. If you open the conflicted file, you will see something like this:

    COLORS
    ------
    blue
    <<<<<< HEAD
    black
    =======
    green
    >>>>>> fix1
    red
    white

    4. Observe how the conflicted part is marked between a line starting with <<<<<< and a line starting with >>>>>>, separated by another line starting with =======.

    Highlighted below is the conflicting part that is coming from the master branch:

    blue
    <<<<<< HEAD
    black
    =======
    green
    >>>>>> fix1
    red

    This is the conflicting part that is coming from the fix1 branch:

    blue
    <<<<<< HEAD
    black
    =======
    green
    >>>>>> fix1
    red

    5. Resolve the conflict by editing the file. Let us assume you want to keep both lines in the merged version. You can modify the file to be like this:

    COLORS
    ------
    blue
    black
    green
    red
    white

    6. Stage the changes, and commit.

    3. Merge the PR by clicking on the Merge pull request button, followed by the Confirm merge button. You should see a Pull request successfully merged and closed message after the PR is merged.

    • You can choose between three merging options by clicking on the down-arrow in the Merge pull request button. If you are new to Git and GitHub, the Create merge commit options are recommended.

    Next, sync your local repos (and forks). Merging a PR simply merges the code in the upstream remote repository in which it was merged. The PR author (and other members of the repo) needs to pull the merged code from the upstream repo to their local repos and push the new code to their respective forks to sync the fork with the upstream repo.

    Guidance for the item(s) below:

    Next, you will learn a workflow called the 'Forking Flow', which combines the various Git and GitHub techniques you have been learning over the past few weeks. It is also the workflow you will use in the tP.

    [W7.8] RCS: Workflows

    W7.8a

    Project Management → Revision Control → Forking flow

    Can explain forking workflow

    In the forking workflow, the 'official' version of the software is kept in a remote repo designated as the 'main repo'. All team members fork the main repo and create pull requests from their fork to the main repo.

    To illustrate how the workflow goes, let’s assume Jean wants to fix a bug in the code. Here are the steps:

    1. Jean creates a separate branch in her local repo and fixes the bug in that branch.
      Common mistake: Doing the proposed changes in the master branch -- if Jean does that, she will not be able to have more than one PR open at any time because any changes to the master branch will be reflected in all open PRs.
    2. Jean pushes the branch to her fork.
    3. Jean creates a pull request from that branch in her fork to the main repo.
    4. Other members review Jean’s pull request.
    5. If reviewers suggested any changes, Jean updates the PR accordingly.
    6. When reviewers are satisfied with the PR, one of the members (usually the team lead or a designated 'maintainer' of the main repo) merges the PR, which brings Jean’s code to the main repo.
    7. Other members, realizing there is new code in the upstream repo, sync their forks with the new upstream repo (i.e. the main repo). This is done by pulling the new code to their own local repo and pushing the updated code to their own fork.
      Possible mistake: Creating another 'reverse' PR from the team repo to the team member's fork to sync the member's fork with the merged code. PRs are meant to go from downstream repos to upstream repos, not in the other direction.

    Guidance for the item(s) below:

    The activity in the section below can be skipped as you will be doing a similar activity in a coming tutorial.

    W7.8b

    Tools → Git and GitHub → Forking workflow

    Can follow Forking Workflow

    You can follow the steps in the simulation of a forking workflow given below to learn how to follow such a workflow.

    This activity is best done as a team.

    Step 1. One member: set up the team org and the team repo.

    1. Create a GitHub organization for your team. The org name is up to you. We'll refer to this organization as team org from now on.

    2. Add a team called developers to your team org.

    3. Add team members to the developers team.

    4. Fork se-edu/samplerepo-workflow-practice to your team org. We'll refer to this as the team repo.

    5. Add the forked repo to the developers team. Give write access.

    Step 2. Each team member: create PRs via own fork.

    1. Fork that repo from your team org to your own GitHub account.

    2. Create a branch named add-{your name}-info (e.g. add-johnTan-info) in the local repo.

    3. Add a file yourName.md into the members directory (e.g., members/jonhTan.md) containing some info about you into that branch.

    4. Push that branch to your fork.

    5. Create a PR from that branch to the master branch of the team repo.

    Step 3. For each PR: review, update, and merge.

    1. [A team member (not the PR author)] Review the PR by adding comments (can be just dummy comments).

    2. [PR author] Update the PR by pushing more commits to it, to simulate updating the PR based on review comments.

    3. [Another team member] Approve and merge the PR using the GitHub interface.

    4. [All members] Sync your local repo (and your fork) with upstream repo. In this case, your upstream repo is the repo in your team org.

    Step 4. Create conflicting PRs.

    1. [One member]: Update README: In the master branch, remove John Doe and Jane Doe from the README.md, commit, and push to the main repo.

    2. [Each team member] Create a PR to add yourself under the Team Members section in the README.md. Use a new branch for the PR e.g., add-johnTan-name.

    Step 5. Merge conflicting PRs one at a time. Before merging a PR, you’ll have to resolve conflicts.

    1. [Optional] A member can inform the PR author (by posting a comment) that there is a conflict in the PR.

    2. [PR author] Resolve the conflict locally:

      1. Pull the master branch from the repo in your team org.
      2. Merge the pulled master branch to your PR branch.
      3. Resolve the merge conflict that crops up during the merge.
      4. Push the updated PR branch to your fork.
    3. [Another member or the PR author]: Merge the de-conflicted PR: When GitHub does not indicate a conflict anymore, you can go ahead and merge the PR.

    Guidance for the item(s) below:

    Git is considered a DRCS. Read the topic below to learn what that means and how it differs from the alternative.

    W7.8c

    Project Management → Revision Control → DRCS vs CRCS

    Can explain DRCS vs CRCS

    RCS can be done in two ways: the centralized way and the distributed way.

    Centralized RCS (CRCS for short) uses a central remote repo that is shared by the team. Team members download (‘pull’) and upload (‘push’) changes between their own local repositories and the central repository. Older RCS tools such as CVS and SVN support only this model. Note that these older RCS do not support the notion of a local repo either. Instead, they force users to do all the versioning with the remote repo.

    The centralized RCS approach without any local repos (e.g., CVS, SVN)

    Distributed RCS (DRCS for short, also known as Decentralized RCS) allows multiple remote repos and pulling and pushing can be done among them in arbitrary ways. The workflow can vary differently from team to team. For example, every team member can have his/her own remote repository in addition to their own local repository, as shown in the diagram below. Git and Mercurial are some prominent RCS tools that support the distributed approach.

    The decentralized RCS approach

    Guidance for the item(s) below:

    These are two workflows that are riskier (but simpler) than the forking flow. After following the forking flow for a while, you may switch to one of these, but at your own risk.

    W7.8d : OPTIONAL

    Project Management → Revision Control → Feature branch flow

    Can explain feature branch flow

    Feature branch workflow is similar to forking workflow except there are no forks. Everyone is pushing/pulling from the same remote repo. The phrase feature branch is used because each new feature (or bug fix, or any other modification) is done in a separate branch and merged to the master branch when ready.

    W7.8e : OPTIONAL

    Project Management → Revision Control → Centralized flow

    Can explain centralized flow

    The centralized workflow is similar to the feature branch workflow except all changes are done in the master branch.